The solstice day/night puzzle in Sea of Stars is a brain-scratcher, especially since you come upon it on your first walk through the area. If you’re like me, you probably spent way too long trying to solve it to no avail. Like the Solstice Shrine puzzles, it has multiple steps for you to work through, but don’t worry; we have all the information you’ll need to complete it successfully.
How to complete the Sea of Stars Jungle Path puzzle
The most important step in getting this puzzle completed is to make sure you first have theSolstice Amulet. The amulet will allow you to control the sun and moon without standing on the solstice prism, no matter if youchoose Zale or Valere. You’ll need to progress further through Watcher Island if you don’t yet have it, then backtrack to Jungle Path at a later time.
Related:Sea of Stars Fishing Guide – All Fishing Locations, How to catch, & more!
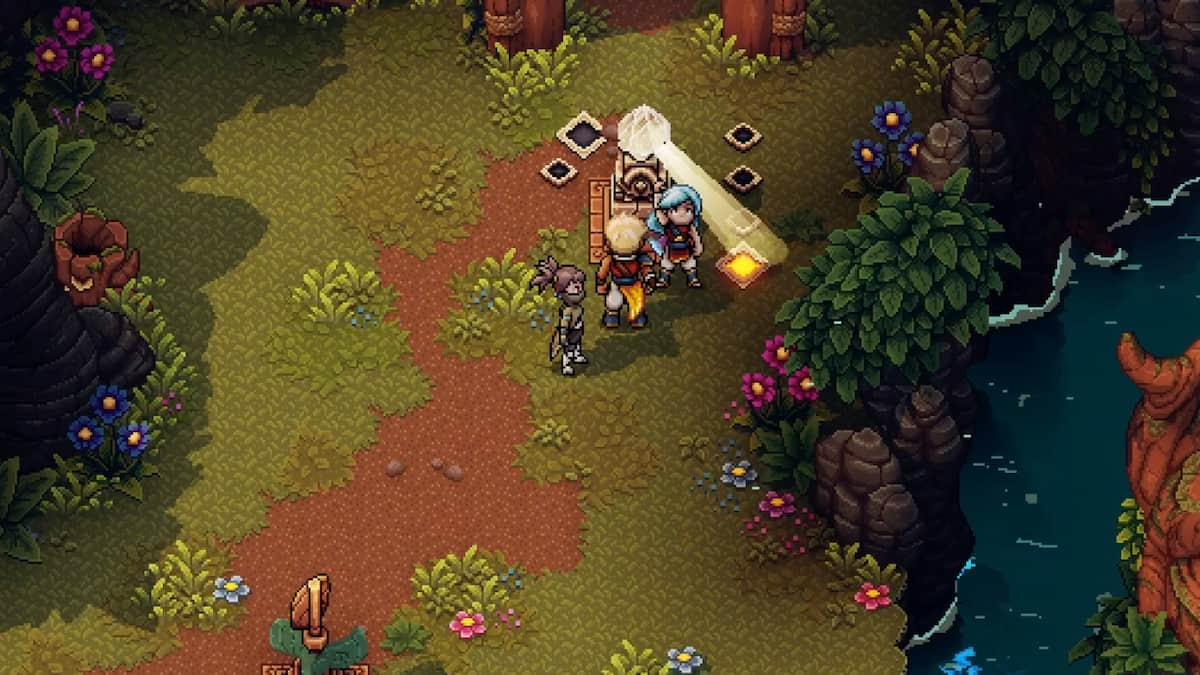
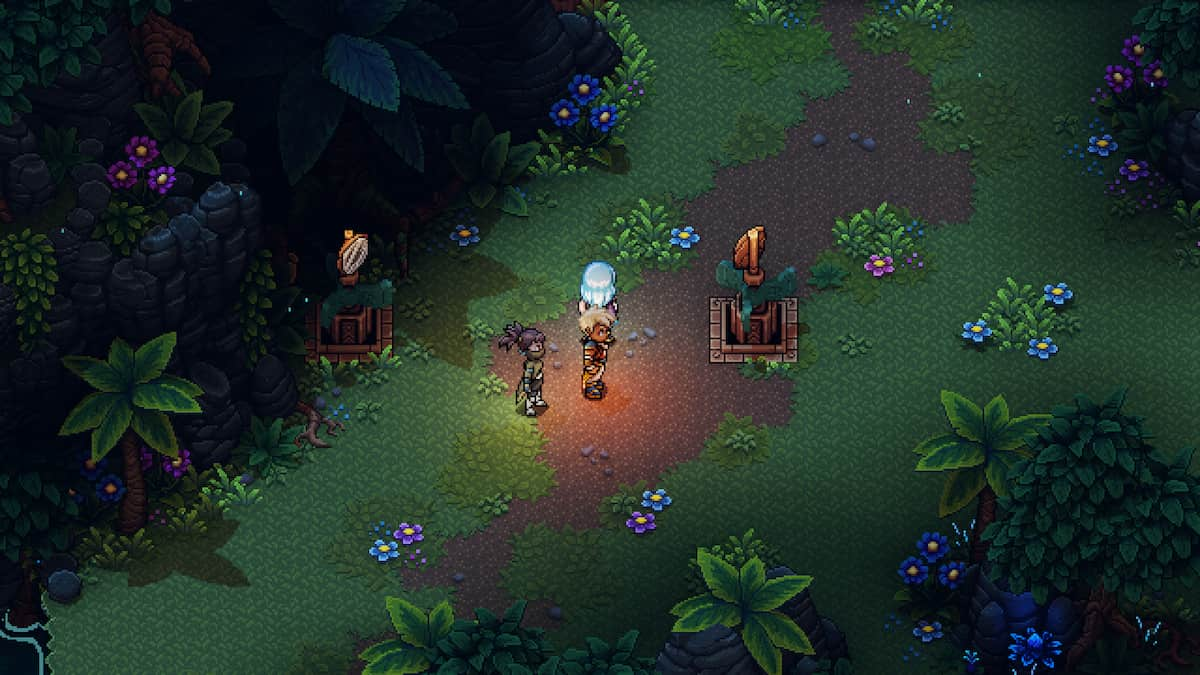
Once you have it, you can head back to the puzzlebeside the large waterfalland work on finally getting this puzzle solved. The goal of this puzzle is to adjust three different mirrors to somehow reflect light onto the diamond located above the statue’s head. However, the mirrors and the light are controlled by the solstice shard and dial, so you’ll need to take it one step at a time.
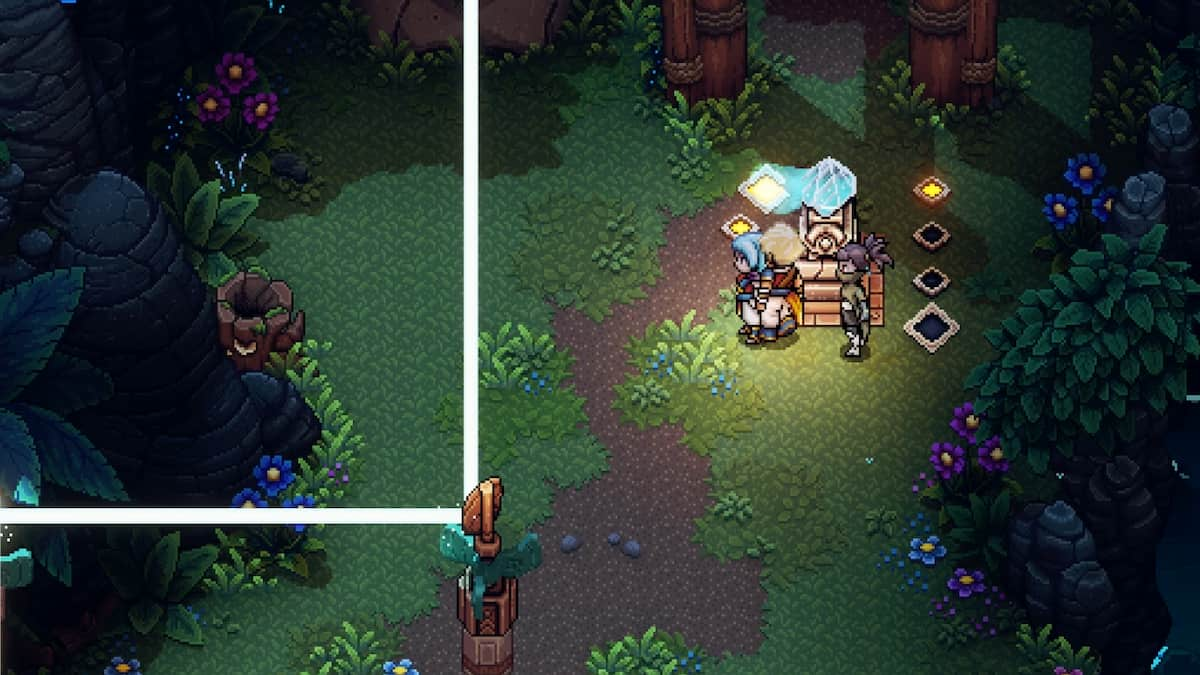
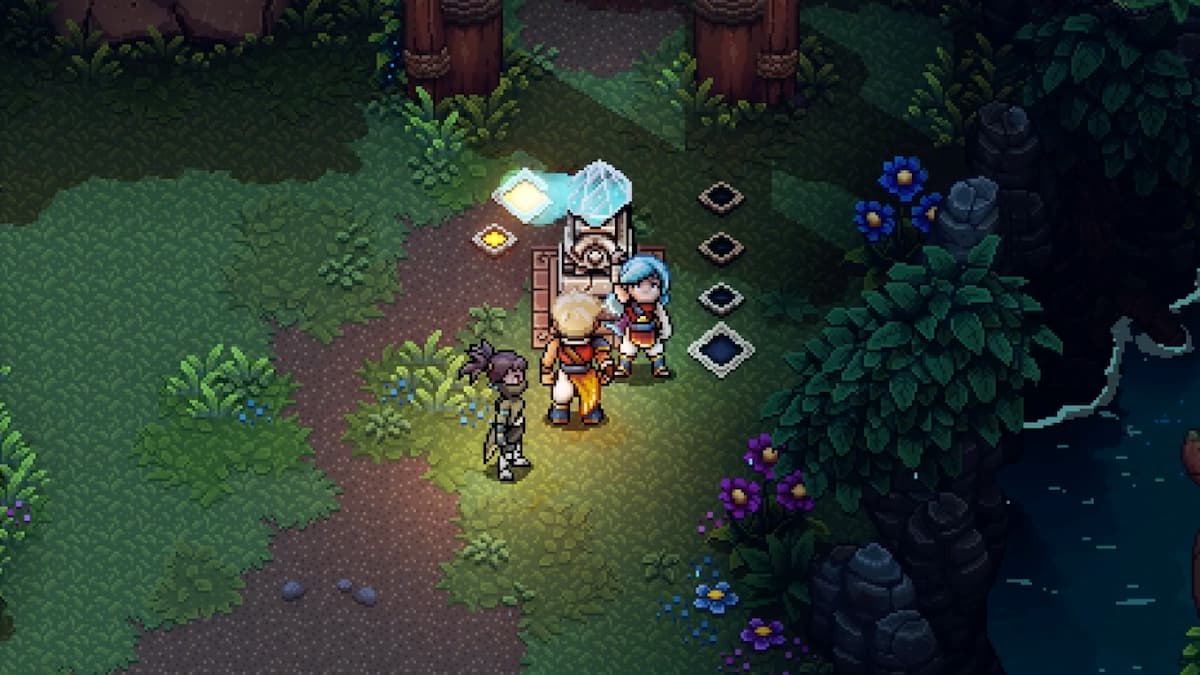
Flip through the images and follow the steps below:
Related:How to grind gold fast in Sea of Stars
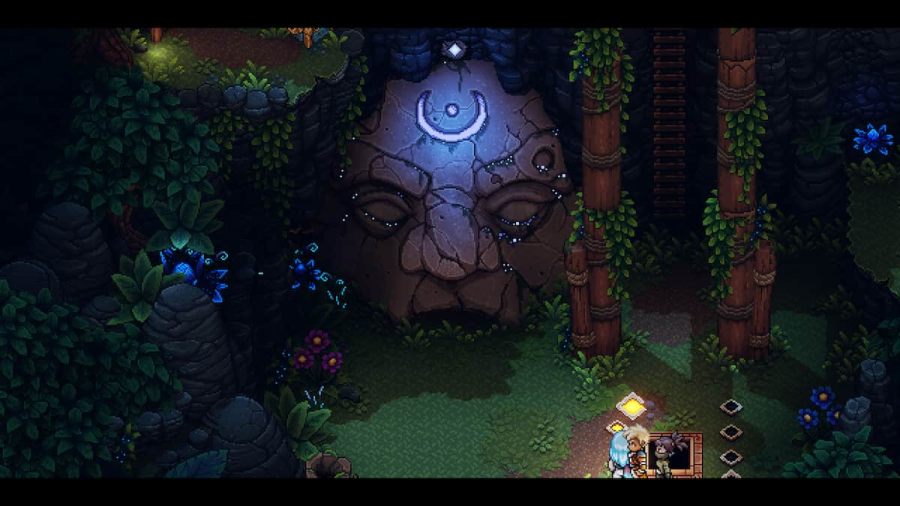
With the light touching the statue, it will open up an entrance to get inside. This will lead you into a little cave where you can collect a chest with some gear, as well as finally reach that Rainbow Conch chest on the ledge to the left of the statue that seemed so unobtainable before.
Looking for more Pro Game Guides Sea of Stars content? Check out our guides onSea of Stars Level Up Guide – Best Stats For All CharactersorAll Relics & Unique Accessories in Sea of Stars – All locations & what they do!