WhileFind the Markersmay seem like just another scavenger-hunt-style experience, it actually offers quite an intricate map with more than a handful of challenging secrets to find. With itsWashable Kingdom Anniversaryupdate, Find the Markers addedeightmore markers for players to discover, including the one we’ll be covering in this brief guide, theSettings Marker.
How to find the Settings Marker in Find the Markers
Similar to theGreedy Marker, which is obtained by simply selecting the in-gameDonationsbutton, or theTechnical Marker, which can be found at the experience’s main menu, the Settings Marker is hiding just under your nose! To find it, spawn into Find the Markers and click on thecogicon at the top of your screen to open theSETTINGSmenu. With the menu open, drag the scroll bar on the right down until you reach the bottom of the window. At the bottom should be a green button with???written on it.
Repeatedly click this button to begin teleporting to the Setting Marker’s location. The more you click, the bigger the white bar above the button will grow.
Related:How to get the Stracciatella Marker in Find the Markers – Roblox
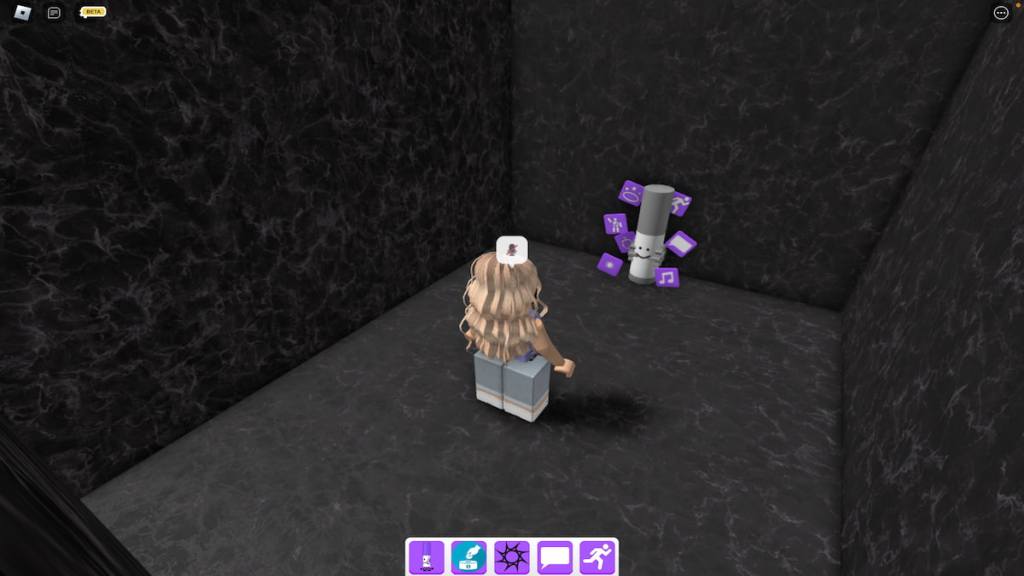
When the bar grows big enough, you’ll automatically be teleported to the Settings Marker.

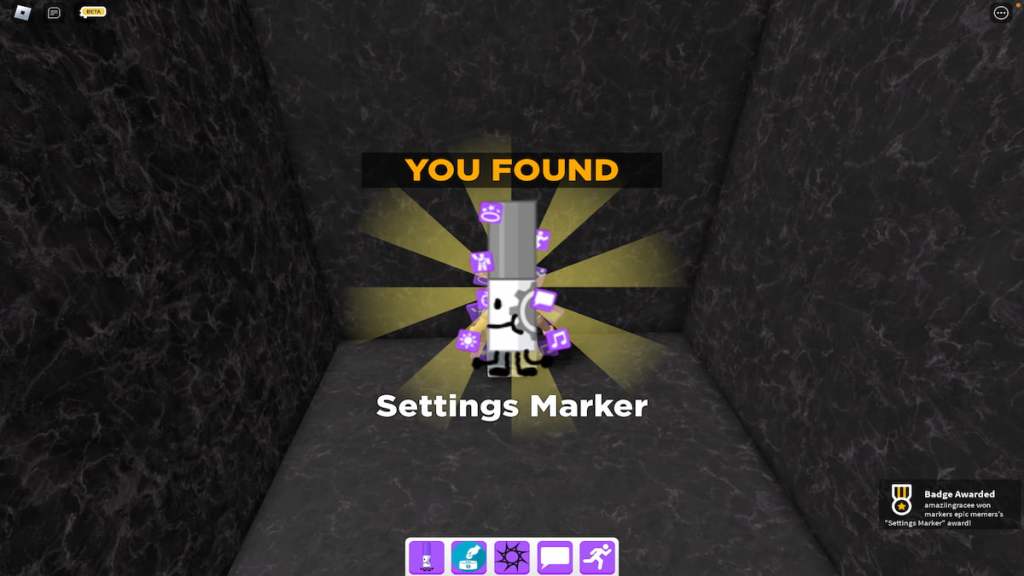
To claim this marker and add it to your Markerdex, simply walk up to it and touch it. Upon doing so, you should receive the pop-up below. That’s all there is to it!
Looking for more Find the Markers content? Check out our recent guides onHow to get the Evil Marker in Find the Markers – RobloxorHow to get the Ivory Marker in Find the Markers – Robloxhere on Pro Game Guides!