Ann of the Narzissenkreuz: Act I - The Narzissenkreuz Adventure is the first Genshin Impact World Quest in a quest chain about the Narzissenkreuz Institute. It features two subquests, The Narzissenkreuz Adventure and The Story of “the Princess” and “the Adventure Team,” and opens up a hidden underwater area called Annapausis.
While playing through this quest, I recommendbringing a battle-ready team with a non-Hydro DPS, as most enemies will have Hydro resistance. Also, ensure you’re familiar withFontaine’s underwater controls.
How to unlock The Narzissenkreuz Adventure World Quest in Genshin Impact
To unlock The Narzissenkreuz Adventure, head to the Chemin de L’Espoir, in the underwater region west of the Court of Fontaine. When you get close to the area, a blue exclamation mark will appear to guide you to the exact location of the quest-giver, a little Oceanid named ???.Speak to ???to initiate the World Quest and the Ann of the Narzissenkreuz quest chain.
Related:Genshin Impact Echoes of the Ancient World Quest Guide
All puzzle solutions in The Narzissenkreuz Adventure World Quest in Genshin Impact
The Narzissenkreuz Adventure is a fairly simple World Quest that involves a lot of dialogue, and you’re able to get through most parts by following the quest navigator. However, you need to solve three puzzles across the two subquests—I’ll run you through how to solve them.
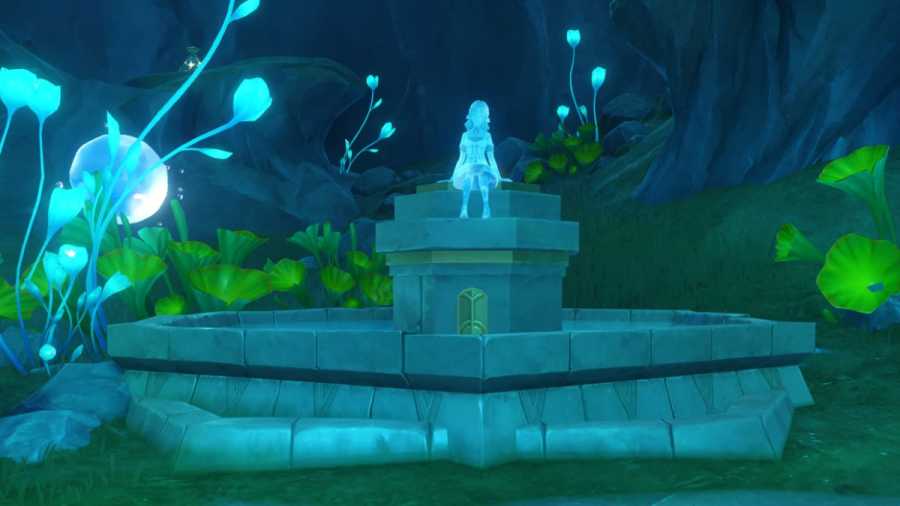
Help Al - The Narzissenkreuz Adventure
Once you get to Anapaussis, you’ll meet up with The Narzissenkreuz Adventure Team, led by the Oceanid, Ann. When you’re about to meet frog-form named Al, you must solve a quick puzzle.
Upon starting this quest prompt,attack the blue crystalwith a Normal Attack so that it turns orange. Doing so will also summon Hydro walls, which will allow you to deflect incoming attacks.

Whenever you’re being targeted by the enemy (marked by the target symbol on your character),hide behind the Hydro wallsso that the attack hits the wall instead of you. When you do get attacked, you’ll be teleported back to the starting point. Keep following this pattern until you cross to the other side.
Once you’ve crossed, a dragon taking the form of a Tainted Hydro Eidolon will spawn.Defeat the Tainted Hydro Eidolonto complete the objective and continue with the rest of the quest.

Clear the Bubble Formation (3/3) - The Narzissenkreuz Adventure
Upon starting the quest prompt, you’ll see the blue crystal in front of you.Attackit with a Normal Attack so that it turns orange. Hydro bridges and walls will form.
Enter the “portal” so that it propels you to the other bridge up ahead. From this point onward, you’ll be targeted by the enemy, so you need to act fast and remember to hide behind walls.

When you’re being targeted, remember tohide behind the Hydro wallsso that the attack hits the wall instead. Like the previous puzzle, getting hit will force you to restart. Your goal is to reach the other side of the bridge, where you mustattack the second blue crystalto summon another set of bridges.
Cross the bridges and remember to hide behind walls to prevent being attacked. Wait until you’re not being targeted, thenquickly run toward the Bubble Formationandinteractwith it to take out the Hydrogranum. You need to do this quickly so you don’t get hit in the process, or you’ll have to restart again.

After taking out the Hydrogranum, a Tainted Hydro Eidolon will spawn.Defeat itto complete the first segment.
A portal will spawnon the same platform. Enter it to be propelled to the next area, where you must repeat the same patterntwo more timesto complete the quest objective:

Related:Hydro Sigils Genshin Impact – How to get & use
Break the “treasure” seal (3/3) - The Story of “the Princess” and “the Adventure Team”
The Story of “the Princess” and “the Adventure Team” is the second subquest under The Narzissenkreuz Adventure. It starts by entering a bubble, which will teleport you to an underwater area in mid-air. You’ll immediately be prompted to solve this puzzle.
First “treasure” seal
Upon initiating this quest prompt, three locations will be marked in the mini-map and World Map, marking the positions of the “treasure” seals. you may solve them in any order, but I recommend heading to the bottom left one as it’s the closest.
Once you get to the area, you’ll immediately spot a blue crystal up ahead.Attack the blue crystalwith a Normal Attack so that it turns orange. Wait a few seconds for the bubble to enter the ring, which will trigger a small cutscene.

Second “treasure” seal
Head to the second puzzle marked by the eastmost quest navigator. When you get to the area, you’ll find a blue crystal locked inside a structure. To find the entrance, you mustswim under the structure, where the arrow is pointing above.
Once you’re underneath the structure, you’ll find an opening that you can enter to reach the blue crystal.Attack the blue crystalwith a Normal Attack so that it turns orange. Wait a few seconds for the bubble outside to enter the ring, which will trigger a small cutscene.

Third “treasure” seal
Head to the northern quest navigator to find the final puzzle. Once you’re there, start byabsorbing the Xenochromatic Blubberbeast’s Ability. It will help with the upcoming battle.
Next,attack the blue crystalwith a Normal Attack to trigger enemies to spawn.Defeat two waves of enemieswith the help of the Blubberbeast’s Ability to unlock the blue crystal. Then,attack the blue crystalwith a Normal Attack again so that it turns orange. Wait a few seconds for the bubble outside to enter the ring, which will trigger a small cutscene, completing the objective.

To complete more major Fontaine quests, check out ourFontaine Ancient Key Location – Aqueous Tidemarks Genshin Impact Quest GuideandGenshin Impact A Gradient of Dreams and Ochre World Quest guide – Ancient Colors Act IIhere on Pro Game Guides.

